Inside: Inexpensive ways to winterize your home for comfort.
If you live in an old or just plain cold home, you’re probably wincing at the thought of your electric bills this winter, I feel ya.
Now, I love living in an old house.
I love how the high ceilings give a feeling of space, even though it’s a small house.
I adore the hardwood doors that were standard when my house was constructed in the 1940s.
That said, older homes aren’t best for the environment or our wallet.
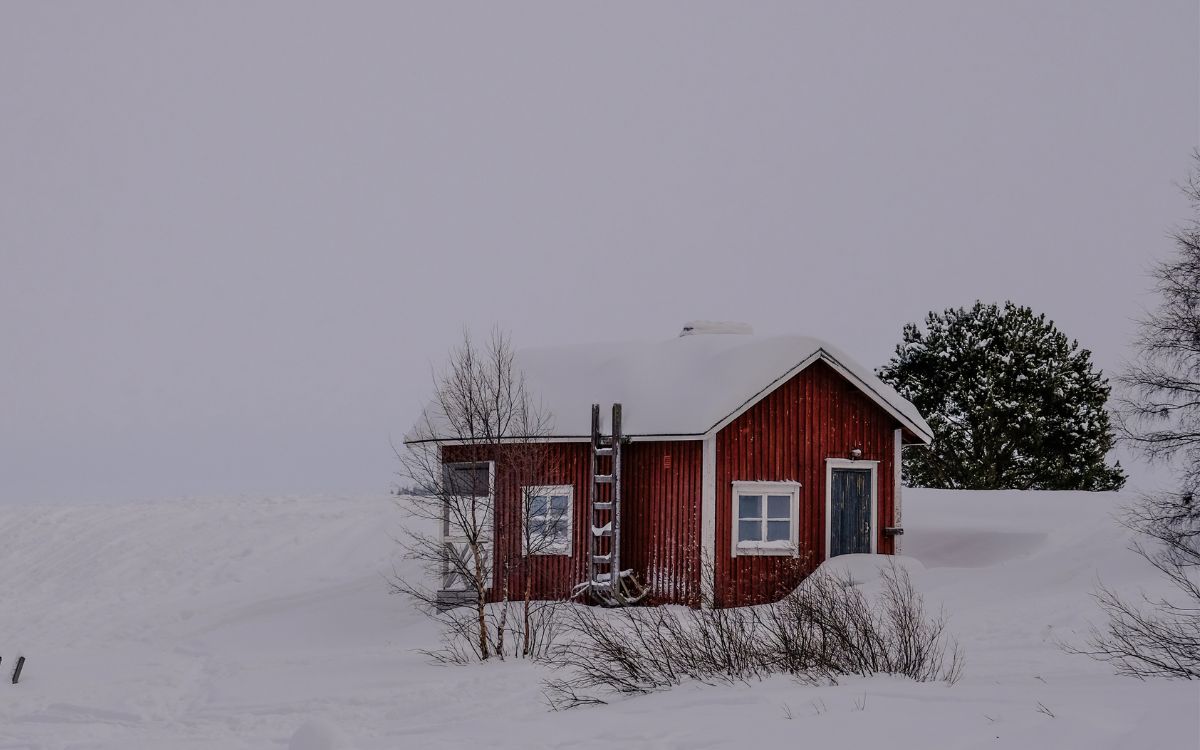
That is especially true in wintertime when drafts and gaps become prevalent.
The past few winters we’ve tried some new cheap ways to winterize our home and reduce our electric bill. The results have been excellent.
We’ve spent less on our monthly electric bill while living in a warmer, dryer home. Here’s how:
12 Inexpensive Ways to Winterize Your Home
As the temperatures start to drop, it’s essential to prepare your home for winter.
Taking some simple steps can help seal drafts and leaks, improve energy efficiency, and keep your home warm and cozy through the colder months.
Here are some inexpensive ways to winterize your home without breaking the bank.
Table of Contents
- 12 Inexpensive Ways to Winterize Your Home
- 1. Window Insulation Kit
- 2. Add Insulation
- 3. Ditch the clothes dryer
- 4. Use door sausages for gaps
- 5. Switch to LED bulbs
- 6. Caulk and Weatherstrip Doors and Windows
- 7. Clean Gutters and Downspouts
- 8. Replace Furnace Filters Monthly
- 9. Program Thermostat for Efficient Heating
- 10. Install Outlet Insulators
- 11. Seal Air Leaks
- 12. Reverse Ceiling Fan Direction
1. Window Insulation Kit
This is number 1 for a reason!
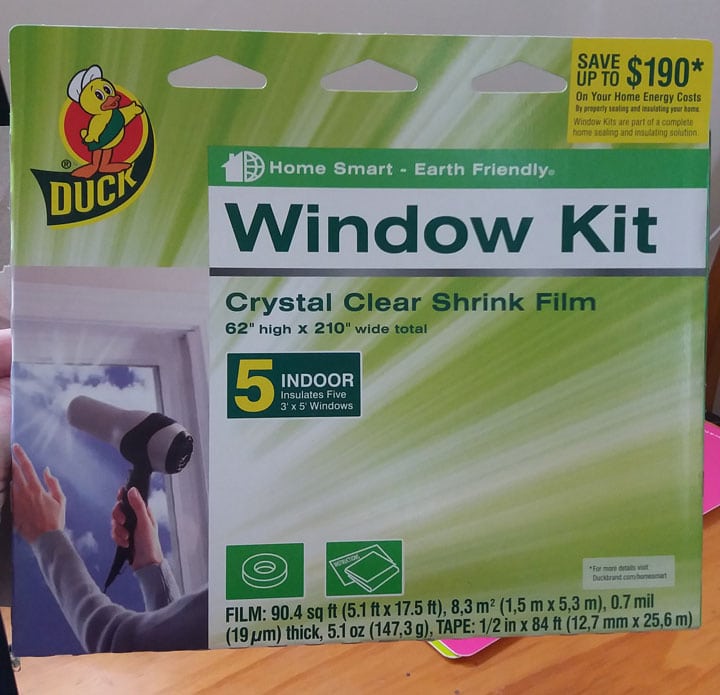
This Duck Window Kit is truly magic.
Clear plastic window insulation film adheres to glass with static cling and creates an extra layer of insulation.
We don’t have the budget for new windows (plus I think modern windows look a bit weird in old, wooden houses) but the cold almost radiates off our single-pane windows, especially at night.
As my sons bed is near the window, I needed a quick solution.
I could not believe my luck when I found the Duck Window Shrink Film.
The kit consists of clear shrink film and double-sided tape.
 The plastic film is fastened to the window frame with double-sided tape.
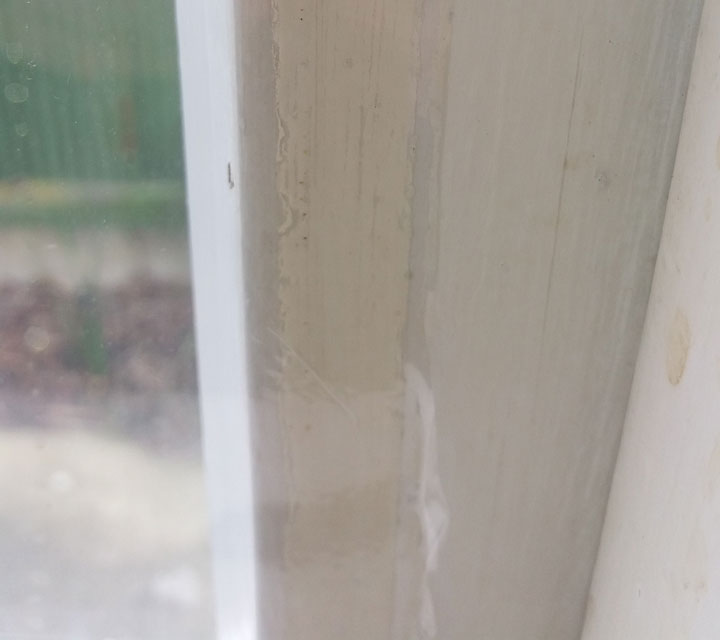
Essentially, you run double-sided tape along the outside edge of the window.
Then you measure and cut the film to fit the window (with around 50mm or 2 inches extra) and press it onto the double-sided tape.
The final step is going over the film with a hairdryer to remove any bunching or wrinkles.
We found that this step made the film very taut.
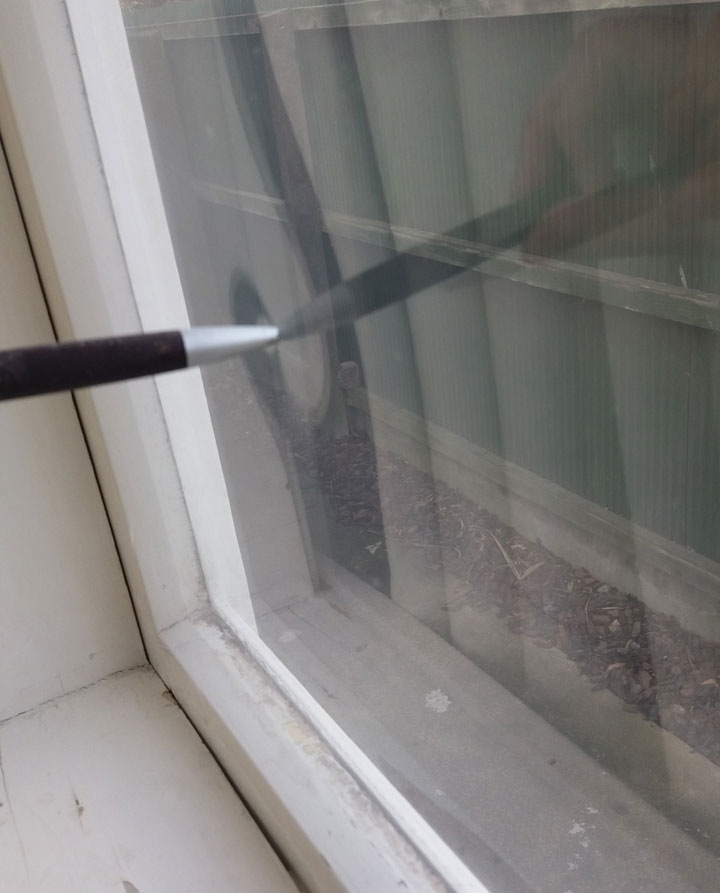 You can barely even see the film once it’s on, here I’m indicating with a pen. It’s truly awesome stuff!
I’ll admit I was sceptical that plastic film would actually work, but after reading Duck Window kit reviews online, I figured it was worth the punt.
The result: We all slept better with the heat on the lowest setting and the next morning, there was absolutely no condensation on either of our bedroom windows (we only put the film in the bedrooms).
We had not put the plastic insulation on our living room window, and it had condensation, so we know the lack of condensation in the bedrooms was a direct result of the window film application.
Can you believe that?
Drier and warmer bedrooms for under $40.
Note: you do need to reinstall the window insulator kit each year as the plastic becomes saggy and ineffective.
Some of our windows have lasted two winters with the same film, but we budget on replacing the film annually for best results.
Interestingly, we’ve since had a quote for retro-fitted double-glazing, and it came to over $9000, so spending $40 and a couple of hours each winter is a huge money saver.
Pro tip: Install the Duck Window Shrink Film insulator kit film prior to the first frost to help keep warm air in.
2. Add Insulation
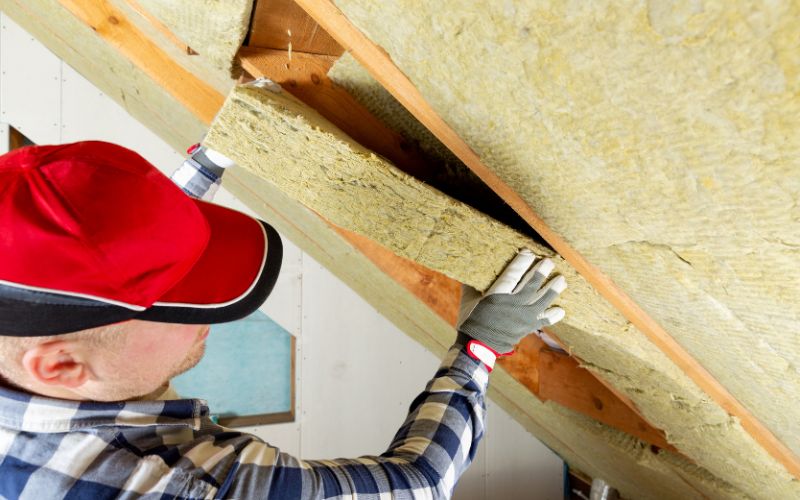
Think of insulation as adding a woolly jumper to your house.
Colder attics lose significant heat.
It helps to keep the heat in and also with noise, which is a godsend if you’re living in a small home with kids.
In our home, we have wool insulation in the ceiling and a type of foil under our wooden floorboards.
We have no insulation in the walls, but as we’ve renovated rooms and added new drywall, we’ve put insulation in.
That said, the walls weren’t necessary, and if my budget was limited, I’d focus solely on putting insulation in the ceiling as it’s “…generally the easiest, cheapest and most effective insulation to install” (Energywise).
That’s because heat rises, so insulation helps to retain heat within a room rather than let it escape through the ceiling.
Pro tip: Top off attic insulation to R-49 or higher for maximum winter savings.
3. Ditch the clothes dryer
Don’t shoot me.
I have not owned an electric clothes dryer (or tumble dryer depending on where you come from) since I left my parent’s home to live as an independent adult.
For many spoilt years, I used a laundry service (the DINK years), but even since setting up a home base with 2 kids, we still don’t have a dryer.
We air-dry everything all year round.
It requires careful meteorological analysis (I follow the weather forecast) and strategic timing of washing machine use but so far, so good.
Here’s how we do it.
If there’s no rain forecast, we run a load of washing late at night, leaving the lid of the washer (top loader) open overnight so it doesn’t get stinky.
At first light, I hang the washing on our rotary clothesline.
In winter, this involves nearly freezing off my fingers.
We get the maximum sun on the washing from morning until early afternoon, then if things are still damp we take our drying rack to the front yard and hang the damp things there for the remainder of the day’s sun.
If it’s rainy we use an indoor drying rack and an overdoor drying rack.
You can survive without an electric dryer over the winter depending on your local climate.
Just make sure you open a window if you are drying clothes inside, as mold can occur.
4. Use door sausages for gaps
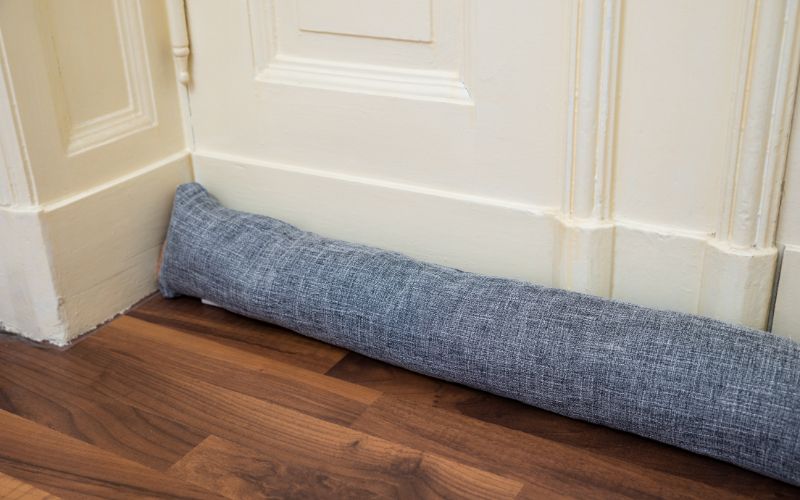
If, like me, you have kids who love floor time, you’ll want to make that space as comfortable as possible.
For some reason, my hardwood timber doors have enormous gaps underneath, meaning we’d have to install the lushest (read: expensive) carpet ever to plug the gap.
Or we could get a door sausage.
Draft stoppers or door sausages are inexpensive, self-adhesive snakes that you attach to the bottom of exterior doors.
They create a seal between the door and floor to block drafts.
You can also use a rolled-up towel or weatherstripping as a temporary draft stopper.
We were able to buy one cheaply from our local energy-saving center, however here is a link to instructions on how to make one yourself.
5. Switch to LED bulbs

Image savings courtesy of EnergyWise.co.nz
I’ve tried to approach the LED issue as frugally as possible.
First, I was only replacing with LED Bulbs when my old 60–75-watt incandescent bulbs blew.
That’s because LEDs are expensive and I’m a cheapskate.
But when I got a 3 pack for $21, I quickly switched out bulbs where we use them the most – kitchen, living room and bedroom lamps.
I’m more inclined to change my incandescent bulbs, as I have some CFL bulbs which are still going strong.
If you’re unsure whether to make the switch, check out this tool from EnergyWise.co.nz
6. Caulk and Weatherstrip Doors and Windows
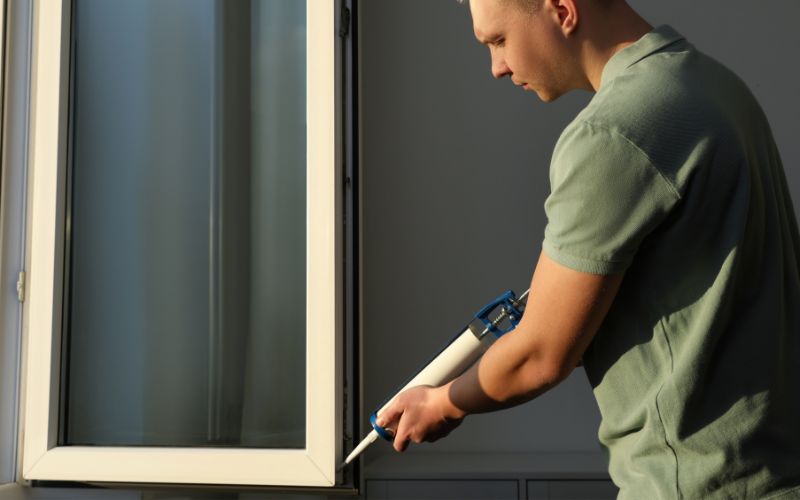
Caulk and weatherstripping around doors and windows is one of the most effective ways to seal air leaks.
Look for cracks or gaps where cold air can enter and use caulk or weatherstripping to fill them.
Pay special attention to the top and sides of doors and any place where two surfaces meet on windows.
7. Clean Gutters and Downspouts
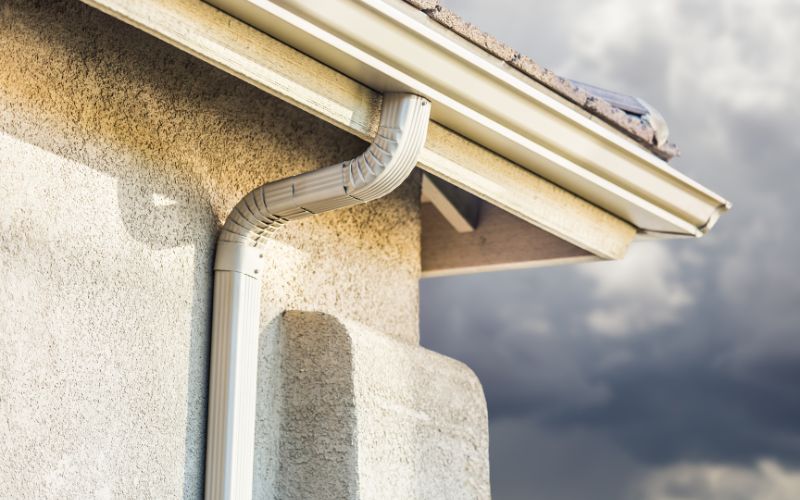
Clear debris from gutters and downspouts so water can flow away from your home’s foundation.
Clogged gutters can cause ice dams and water damage over winter.
8. Replace Furnace Filters Monthly
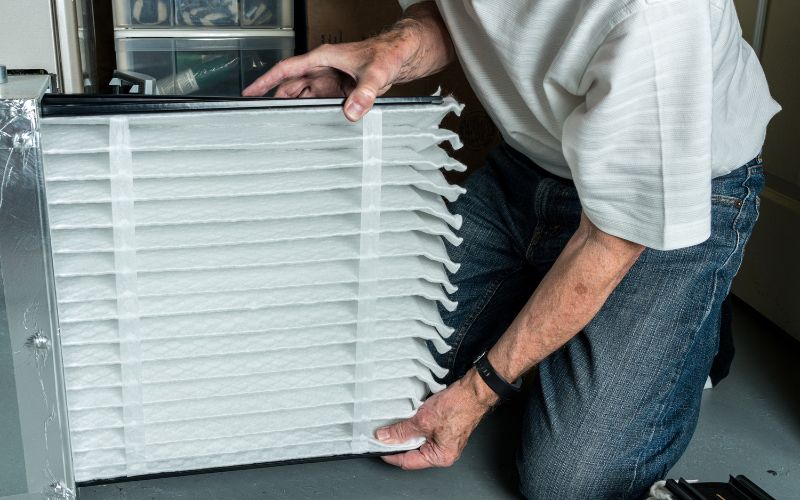
A clogged furnace filter makes the system work harder to circulate air.
Replace filters monthly during peak heating season to maintain efficiency.
9. Program Thermostat for Efficient Heating
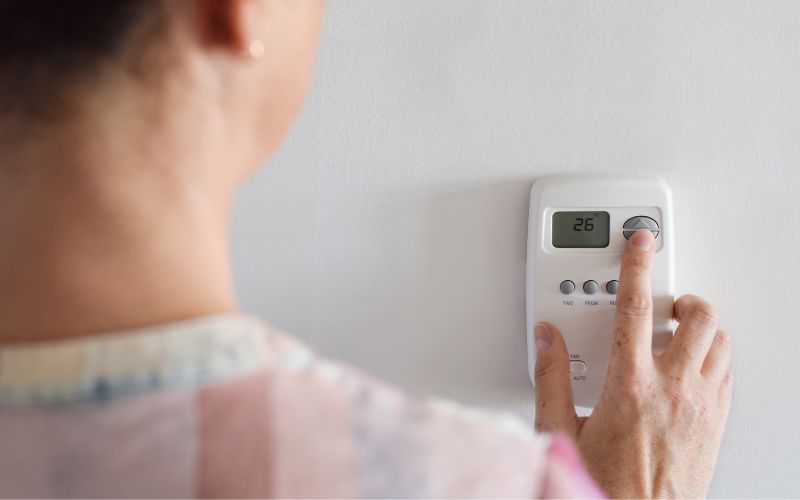
Lowering your thermostat a few degrees when away can save 10% on heating costs.
Programmable thermostats make this automatic.
10. Install Outlet Insulators
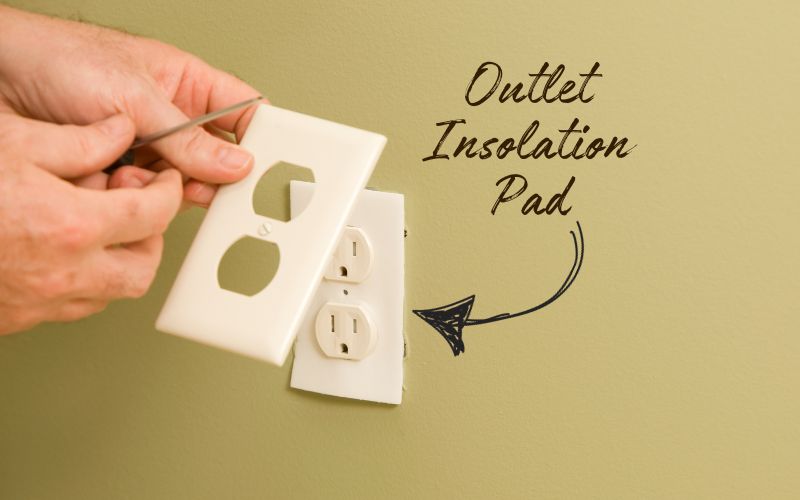
Seal air leaks around electrical outlets on exterior walls with inexpensive foam gaskets.
11. Seal Air Leaks
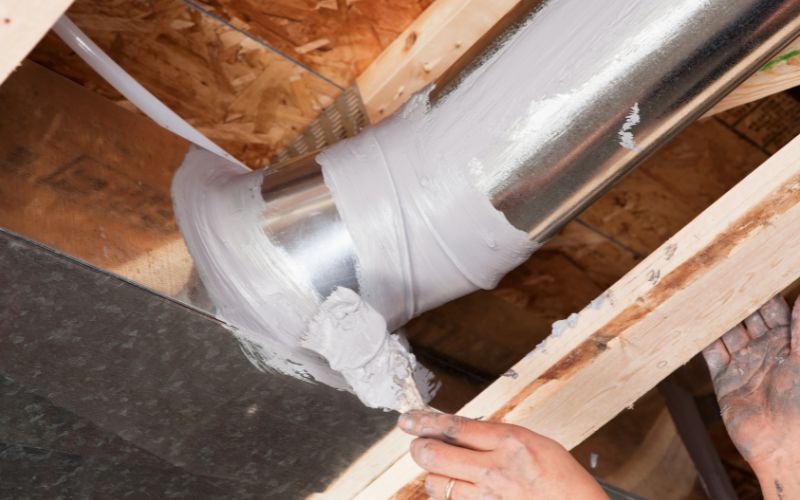
Check for and seal any air leaks around pipes, vents, electrical wiring or other penetrations on exterior walls.
Use caulk or weatherstripping.
12. Reverse Ceiling Fan Direction
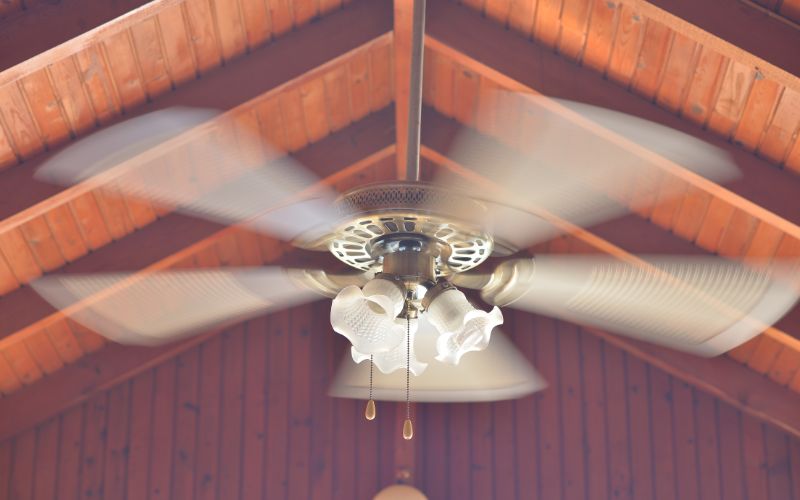
Run ceiling fans clockwise in winter to push warm air down from the ceiling.
Counter-clockwise is best in summer.
Taking a few hours to complete these inexpensive winterization tasks can help keep your home cozy for less money through the colder months ahead.
Optimizing your living space to be the most energy efficient it can be, by retaining natural heat and reducing your electricity spend, helps reduce your carbon footprint whilst saving you money.
Everybody wins!
Do you live in an older home?
What are your top ways to winterize your home?
Related: 11 Stylish Blanket Storage Ideas