Caulk is a great product for sealing small cracks and gaps. It is easy to use, but you may be wondering if you can put a second layer of caulk on a surface that already has caulk.
Yes, you can caulk over caulk as long as you make sure you’re placing the new layer down on a clean and dry surface. While the new caulk will adhere, for the strongest bond, you will want to remove the old layer of caulk first.
You’ll need to make a choice between taking the shortcut of adding another layer or completely removing the older layer. Your decision will determine the overall integrity of your caulk job.
Read on to learn about the best practices for caulk removal.
Table of Contents
Benefits of Putting Caulk Over Caulk
Caulk is a great material for sealing gaps and cracks around windows, doors, walls, floors, and more. Since it works as a filler, it can be a quick fix for a problem area without having to completely replace or rebuild the entire space.
Some benefits of this method include:
- Easy to make a quick repair instead of replacing the entire surface
- Covers up small, unsightly gaps and tears in existing surfaces
- Can be used to update or change the appearance of a room without repainting an entire wall or changing trim work.
- Since caulk is a flexible material, it can be molded into small cracks and gaps.
- No need for additional tools or materials
- Can be a simple DIY project for the weekend warrior or first-time fixer-upper.
In short, applying caulk over caulk simplifies the process of sealing gaps and cracks.
Disadvantages of Putting Caulk Over Caulk
Even though placing caulk over caulk may seem like a no-brainer choice for repairing a wall or sealing a small crack, there are some downsides to this method of caulk application.
- Not an ideal choice for filling larger gaps and cracks.
- Cannot be used over surfaces that have had water damage or other moisture problems
- Only ideal when the existing caulk is in good condition and still has flexibility, pliability, and adhesion
- Will not be able to use certain types of caulks over other kinds. For example, you cannot place silicone caulk over latex because their chemical makeup will prevent them from adhering.
- May retain mold and mildew if not properly cleaned after removing the old caulk
- May make replacement harder in the future
As you can see, when you caulk over caulk, it’s important that the surface is in good condition. This is a combination of having a clean surface and checking the existing caulk to make sure it’s still flexible, pliable, and adheres well.
How to Caulk Over Caulk
Caulking is an easy DIY project that can be done in no time with these 3 simple steps:
1. Clean the Old Caulk Surface
To begin, you will want to clean the surface of all dirt and debris. This is especially important if your caulk has been exposed to moisture or other contaminants that can cause mold growth.
Use a cloth soaked in water with mild soap. Scrub down the entire area well until it’s completely free from dirt and residue.
Take some rubbing alcohol and use another cloth to wipe the whole area down. This will ensure that there is no soap or oil residue or contaminants on the surface before applying a new layer of caulk.
2. Make Sure the Old Surface Is Completely Dry
It’s very important that the surface is completely dry before moving forward and applying caulk. If there’s any moisture on your wall or window, you risk having a weak seal and/or mold growth.
Use a hairdryer to quickly reduce wetness in the area where you will apply the caulk. If water has seeped into cracks in masonry or bricks, let it dry for a few hours before beginning the process.
Using an enclosure fan is another option to ensure that all surfaces are dried out completely after washing them down.
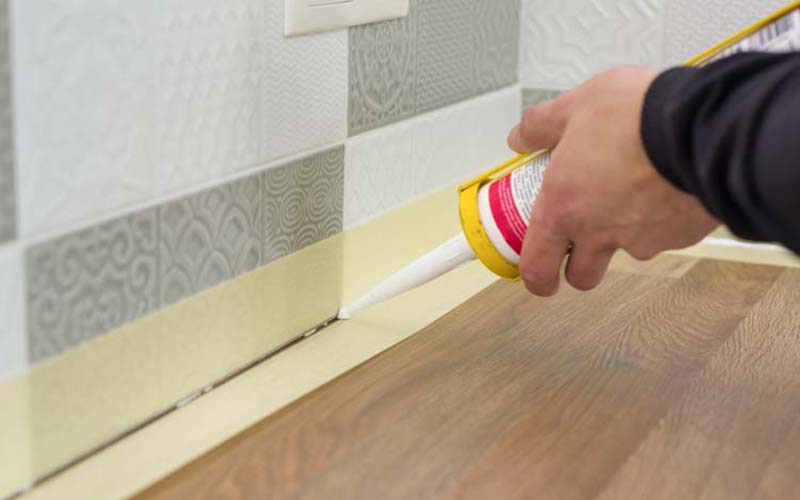
3. Re-Caulk the Surface
Now you’re ready to begin a caulk application.
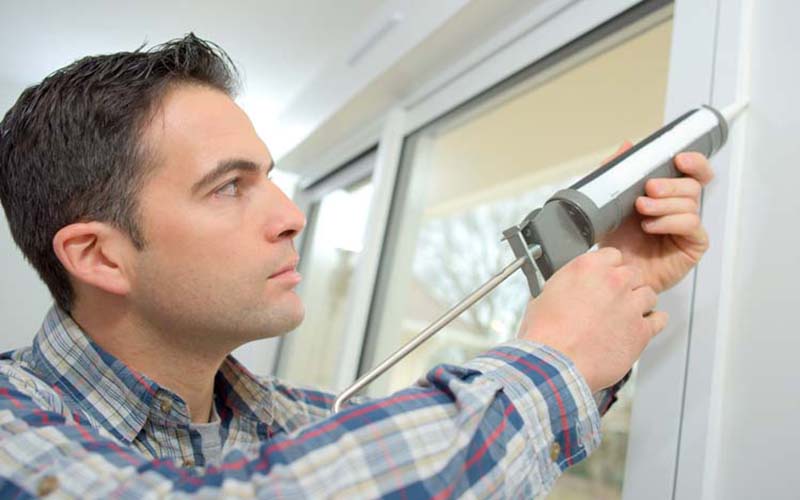
Using a caulking gun, place your bead along the wall or window frame where you want to seal up any cracks. In order to create a waterproof seal, you will want to make sure your new caulk line is a little bigger than the original caulk line.
What Is the Easiest Way to Remove Old Caulking?
If your old caulk is significantly damaged, has water damage, or is showing signs of mold, you will have to remove it instead of covering it with a new layer. While this may feel like additional labor, it will save you time in the long run. It’s a fairly straightforward process and requires very few supplies.
To begin, you will need:
- Scraper tool
- Razorblade or utility knife
- Water and paper towels or shop rags to clean up any excess moisture on the wall surface.
The easiest way to remove caulk from a wall is by using a utility knife. Carefully score along the caulk line to loosen it up and then use your hands to pull away from the old caulk.
You can also try using a chemical solvent, like paint thinner, WD-40, or Goo Gone, which will soften up any remaining residue so you can easily wipe it off with water and soap after scraping away as much of it as possible.
Finally, you can purchase a caulk remover. This helps to soften the caulk by the chemical reaction it creates. This is a fast and easy way to remove caulk, but you will want to make sure that the caulk remover is compatible with the material and type of caulk that you’re removing.
Final Thoughts
Can you caulk over caulk? Yes, if the area is in good condition! You can use this method on a surface with an existing caulk line if that line has good adhesion and flexibility. Just make sure to take enough time to completely disinfect and dry out the surface before applying a new layer to avoid any new problems.
Make sure to pay attention to the manufacturer’s instructions on your caulk tube and follow all safety precautions. With safety and cleanliness in mind, you can now work with ease and enjoy your quick and easy caulk project.
Related: